Aomark Suite 2.0.0 · Updated September 26, 2026
Install the plugin, open its dashboard, and connect this WordPress site to your Aomark account so hosted features are available.
Install the plugin
Use the ZIP supplied for Aomark Suite. In WordPress, open Plugins → Add New Plugin → Upload Plugin, select the ZIP, choose Install Now, then Activate Plugin. If the plugin is already installed, activate it from the Plugins list.
- Open Plugins → Add New Plugin → Upload Plugin.
- Choose the Aomark Suite ZIP and select Install Now.
- When WordPress confirms the install, select Activate Plugin.
Open Suite and connect this site
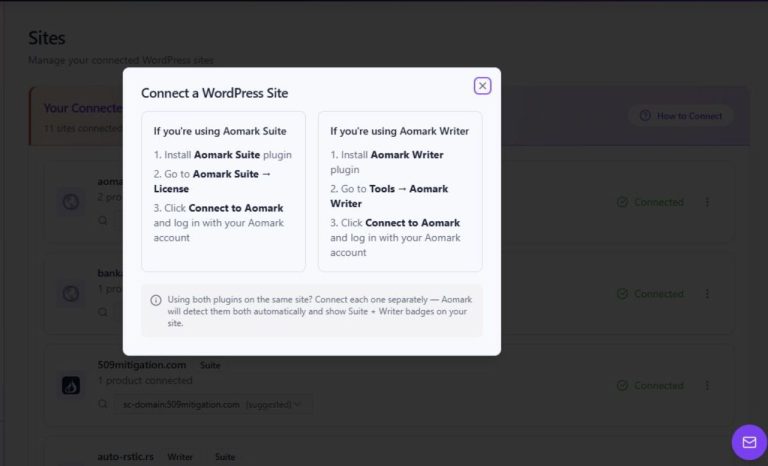
Select Aomark Suite in the WordPress admin menu, then open Settings → Account. Choose Connect Account and complete the Aomark sign-in or authorization flow in the page that opens. Return to WordPress and confirm the account screen reports a connected site.
- Open Aomark Suite → Settings → Account.
- Choose Connect Account and finish the Aomark authorization flow.
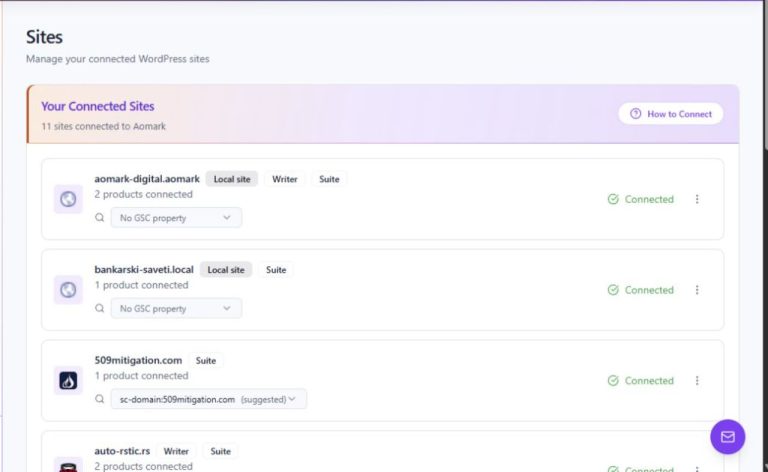
- Return to WordPress and check that this site is shown as connected.
Know what the connection enables
The account connection enables hosted Suite actions such as AI generation and account usage checks. It does not connect Google Search Console; that is a separate connection made in Aomark Hub. Provider API keys are managed by Aomark and are not entered in WordPress.
Local and production sites
A local or private WordPress site can connect using outbound requests; it does not need a public tunnel or a wp-config.php edit. If the site address changes when you move to production, Suite can show Reconnect required. Connect the production site under its own address before using hosted features there.
- Connect the local site through the normal Account flow.
- After moving to a new production URL, follow the Reconnect required status in Account.
- Check that the production site is connected under its current URL before using hosted features.