Aomark Hub · Updated September 28, 2026
Use Hub site cards, product badges, work queues, and separate credit sections to keep work across connected sites clear.
Use Overview as a work map
Overview combines the content workflow, Writer queue counts, available-credit links, and a preview of connected sites. Review next and Review links open articles ready for attention, while Open Writer takes you to the full workspace. Treat the queue counts as summaries; open Writer to locate an individual job and confirm its site and state.
- Open Overview to scan review-ready work and Drafts or Scheduled counts.
- Use Review next or Review to open a specific item that needs attention.
- Choose Open Writer when you need the full Writer list and its site controls.
Distinguish sites and product access
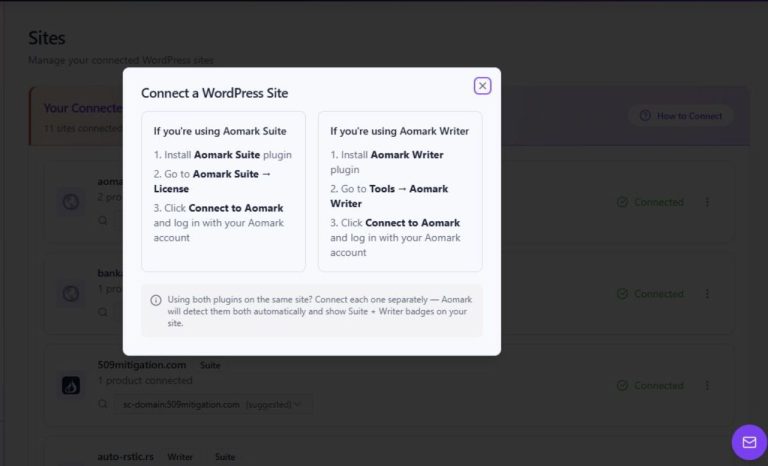
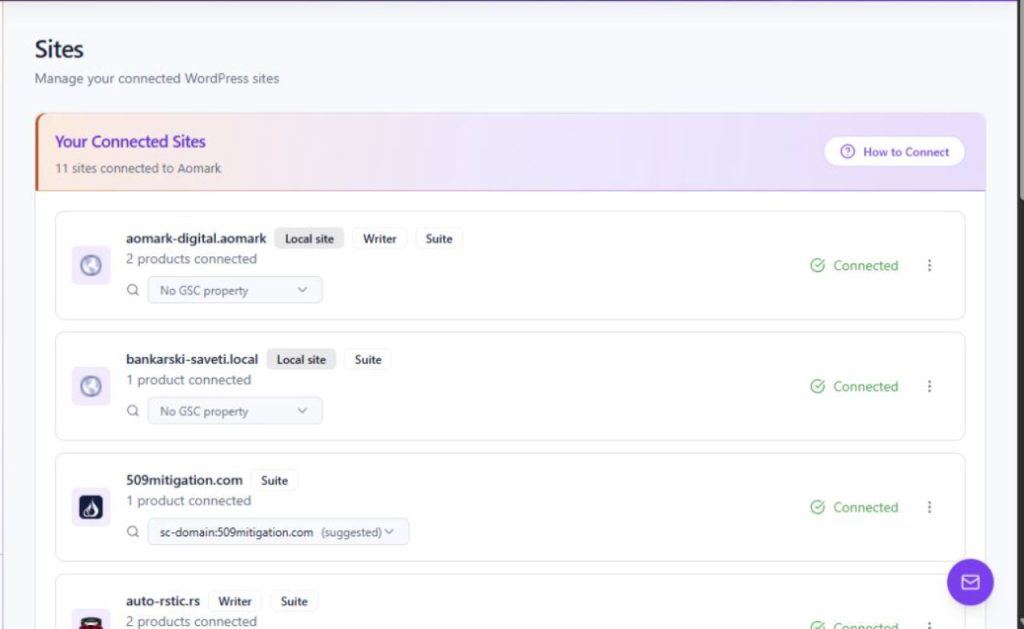
Open Sites to view connected-site cards. Identify each site by its domain, then read the Connected state, local-site indication where applicable, product count, and Writer or Suite badges. The badges show which Aomark products are listed for that site. A site using both products can show both badges because each plugin is connected separately. A Search Console property selector is also shown on the page and is separate from product status.
- Use View all or Manage from Overview to reach Sites.
- Find each site by its domain and read that card's connection state and product badges.
- Check the Search Console property selector independently from the Writer and Suite badges.
Keep article work with the right site
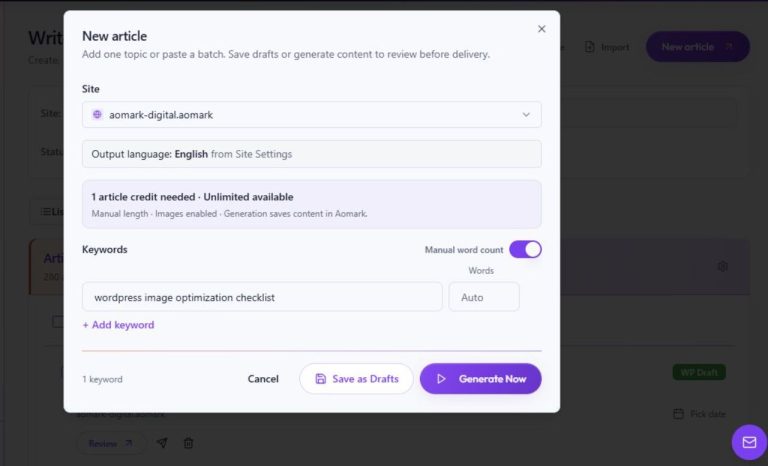
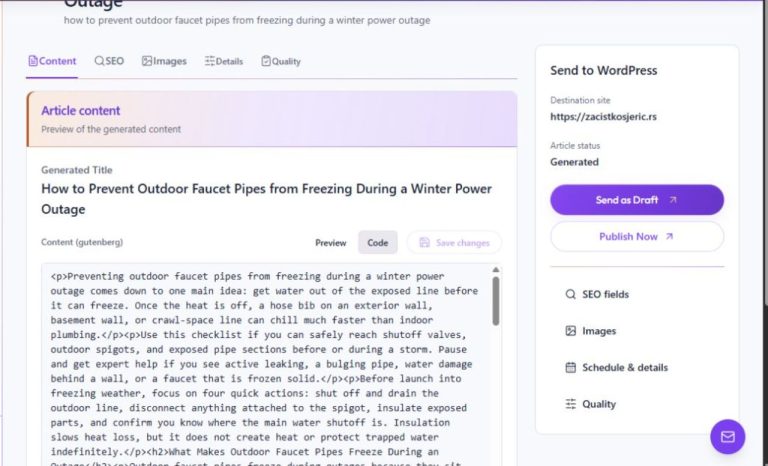
Writer includes site selection when working with article jobs. Before creating, reviewing, or delivering work, check the selected site and the job's displayed destination. The Writer tutorials explain how to find and filter jobs and how to review and deliver an individual article. This guide does not repeat those job-level instructions; use them whenever a task moves from Hub's summary into article work.
- Open Writer and select the site relevant to the task.
- Use the Writer list's site selector, search, and status controls to locate the intended job.
- Confirm the destination in the job's Review screen before making content or delivery decisions.
Read credits by product
Billing presents Writer article credits and Suite credits in separate sections. Overview's Available credits links lead to the corresponding product sections. Read the plan, allocation, and available-credit values shown for your account, and use the product heading to keep the context clear. Values vary by account, so use the live values displayed for the account you are working in.
- Follow the relevant Available credits link from Overview or open Billing.
- Read the Writer or Suite credit section that matches the work you plan to do.
- Return to Overview or the relevant product workspace when you are ready to continue.
Use a repeatable multi-site check
When moving between connected sites, confirm the site's domain and product badges before opening product work, then confirm the selected site again in Writer. This small context check helps prevent confusing one site's queue with another site's work. If a site is expected to use Writer or Suite but its badge is absent, use the visible How to Connect instructions for the relevant plugin and check the Connected state afterward.
- Identify the site by domain in Sites.
- Confirm the product badge needed for the task.
- Open the product workspace and verify the selected site before working on its content.
Continue with a focused tutorial
Read connected-site and product badges in Hub