Aomark Writer · Updated September 28, 2026
Move from a clear article brief to a generated draft, editorial review, and an intentional WordPress handoff.
Start with an article brief
Choose a topic that has a clear reader and purpose. For example, a guide to preparing a home for winter should answer a specific homeowner question, reflect the service or expertise on the site, and avoid promises the business cannot support. Gather the correct facts before asking Writer to draft around them. A useful brief can be short: the reader's question, the answer the page should give, a few trusted facts, and the action a reader can take next.
- Write down the intended reader, article purpose and primary topic.
- Collect reliable facts, names, dates, qualifications and links the article should use.
- Choose a connected site whose audience and content style fit the brief.
Create a controlled job
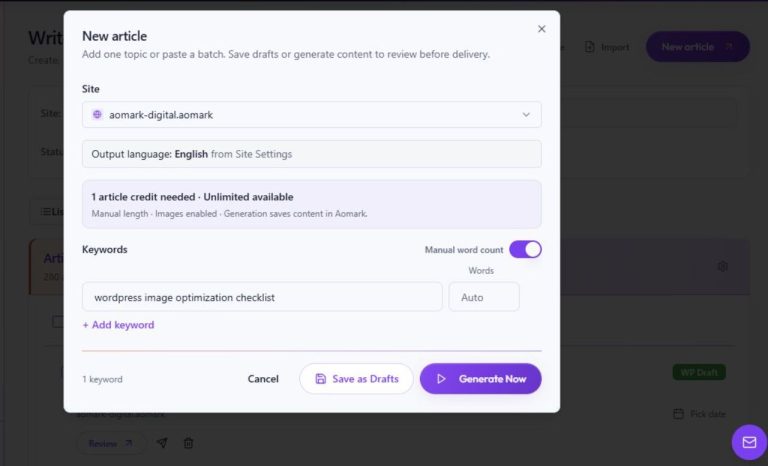
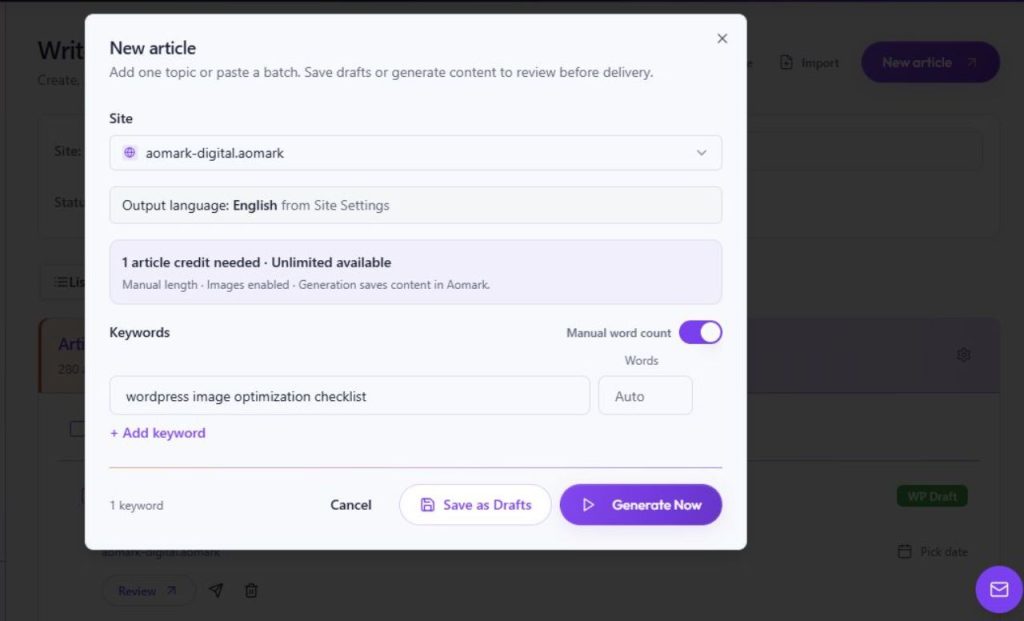
In Writer, open New article, select the site and enter the primary topic. Add only supporting keywords that fit the same subject. The output language comes from the site's settings, and the dialog shows images enabled. Automatic length uses SERP research; use Manual word count only when the brief calls for a specific target. Review the estimate shown in the dialog and decide whether to save the topic as a draft job or start generation.
- Enter one topic or a prepared batch of primary keywords.
- Add supporting terms, select the appropriate length option and review the estimate.
- Choose Save as Drafts to keep the jobs in Aomark without starting generation, or Generate Now when the brief is ready.
Review the generated article
Generation saves content in Aomark; Generate Now does not directly publish it to WordPress. Open the generated job with Review and read the full body in Preview or Code. Check that the lead addresses the topic, headings support the reader's next questions, examples remain within the brief, and the conclusion does not introduce a new promise. Confirm claims against the source material rather than treating fluent wording as evidence.
- Check names, numbers, dates, definitions and technical claims.
- Remove unsupported statements and restore qualifications that affect meaning.
- Use the editing toolbar to improve structure and links, then Save changes in Content.
Complete the job details
Review the SEO title and meta description in the SEO tab. Save SEO sends these values to WordPress, where they also appear in Suite; search engines can still choose different text. In Details, check the destination, keywords, category, tags, slug, format, target length and headings. Details also shows the schedule and WordPress post information when available. Review the image separately, because availability varies by job.
- Edit the SEO fields for accuracy and page-specific clarity, then choose Save SEO.
- Check the displayed slug, taxonomy, target length and headings in Details against the brief.
- Inspect any featured image and its alt text before syncing it.
Choose a delivery outcome
The delivery panel separates Resend as Draft from Resend & Publish. Choose the approved outcome and check the destination site before acting. If a schedule is set, confirm its date and time in the site's timezone. After delivery, use the displayed job and WordPress statuses, post ID and permalink to locate the result; View in WordPress opens the destination post.
- Use Resend as Draft when the WordPress post should remain a draft.
- Use Resend & Publish only when publication is explicitly intended and editorial review is complete.
- Open View in WordPress and check the resulting post and status.
Continue with a focused tutorial
Create article drafts in Writer
Review and edit generated article content